What Are Pages?
Pages are typically used for content that is integral to your website and doesn’t change often. Usually, your number of pages will remain fairly constant after the site is built, and you will most often link to pages in your navigation menus. Pages can be hierarchical - which means that a page can be a parent or child of another page (or pages).
Often we will use hierarchical pages to group content of a similar category. For example a business may have the following pages:
- Our People
- Mission, Vision & Values
- Awards & Recognition
Rather than filling up their main menu with these three items, they might group them all as ‘children’ under a single page called ‘About Us.’ Generally, this would be represented in the menu by a dropdown, but it is important to note that you can show a page in a drop down menu (via the customiser, where we added pages earlier) even if it is not a child page. The biggest benefit of the parent-child relationship is being able to trace the URL breadcrumbs back to the top - in fact it is common to show breadcrumbs at the top of a webpage to show the hierarchy. In the example above, the breadcrumbs for the Awards & Recognition page would look like this:
Home > About Us > Awards & Recognition
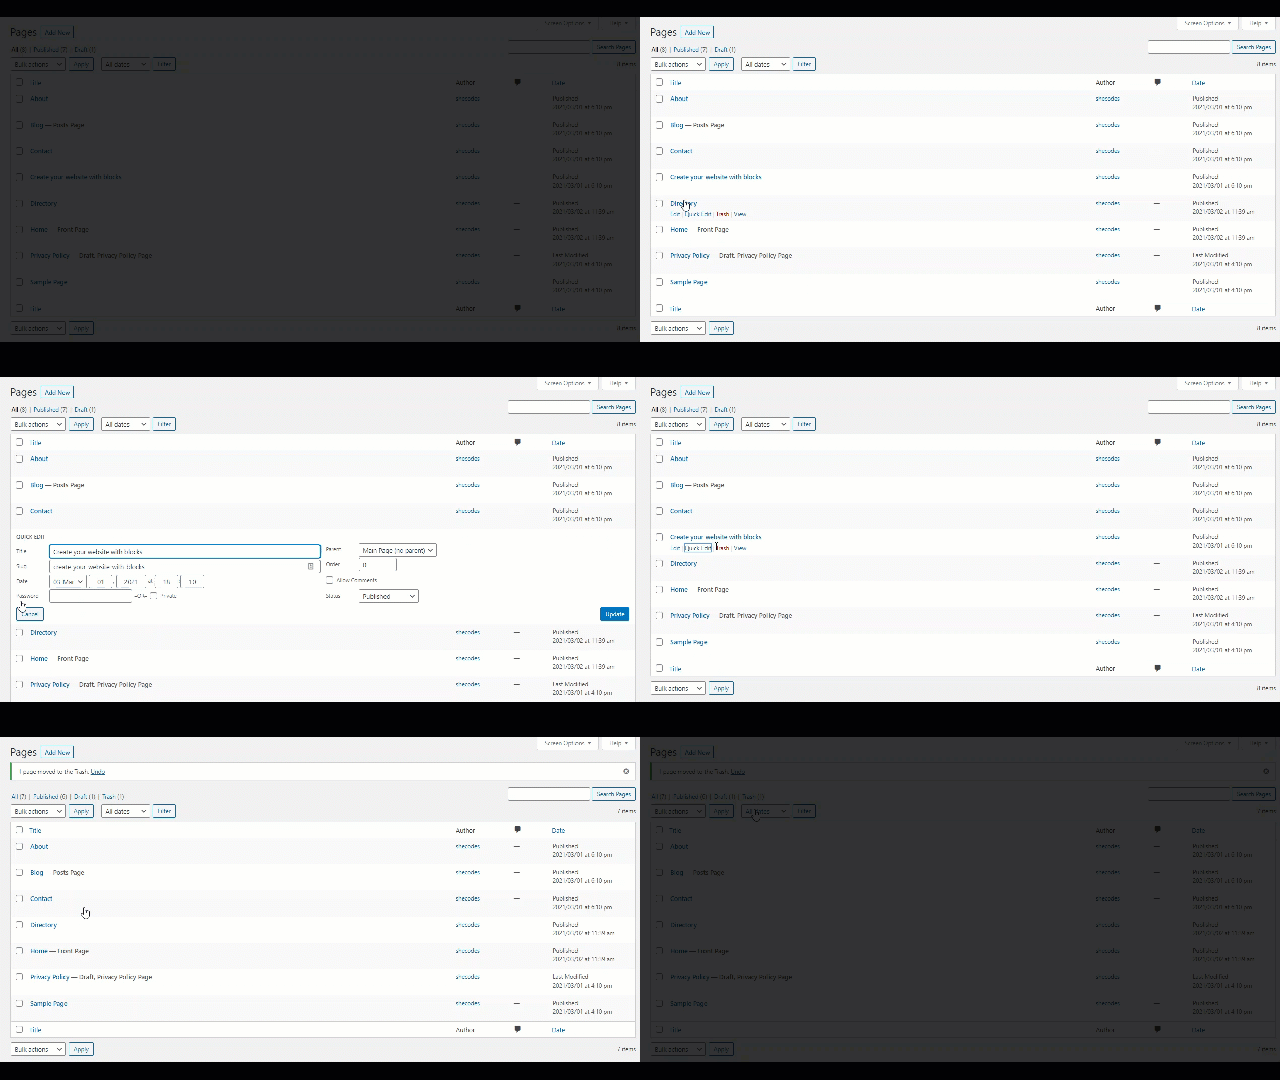
You can view the pages on your website from the dashboard, by clicking on Pages > All Pages.
Quick Links
On the ‘All Pages’ screen, hover over one of your pages. You will see a selection of links appear underneath the page title:
- edit
- quick edit
- trash
- view
Clicking either Edit or the page title itself will open the page with the WordPress block editor. We’ll cover this more in a moment, but let’s look at the other three links first.
The Quick Edit link will open a selection of options without leaving the page you are on, and allow you to make changes to many of the page properties. The Title is pretty self-explanatory, and the slug is what is displayed at the end of the URL (after the slash) for that particular page. If you make changes in the Quick Edit field you will need to hit the blue ‘Update’ button on the right to save the changes.
The red Trash link is also pretty self-explanatory, and can be used to delete pages you no longer need.

Finally, the View link allows us to switch directly to the front-end view of that page without having to navigate to it using the menu or toolbar.
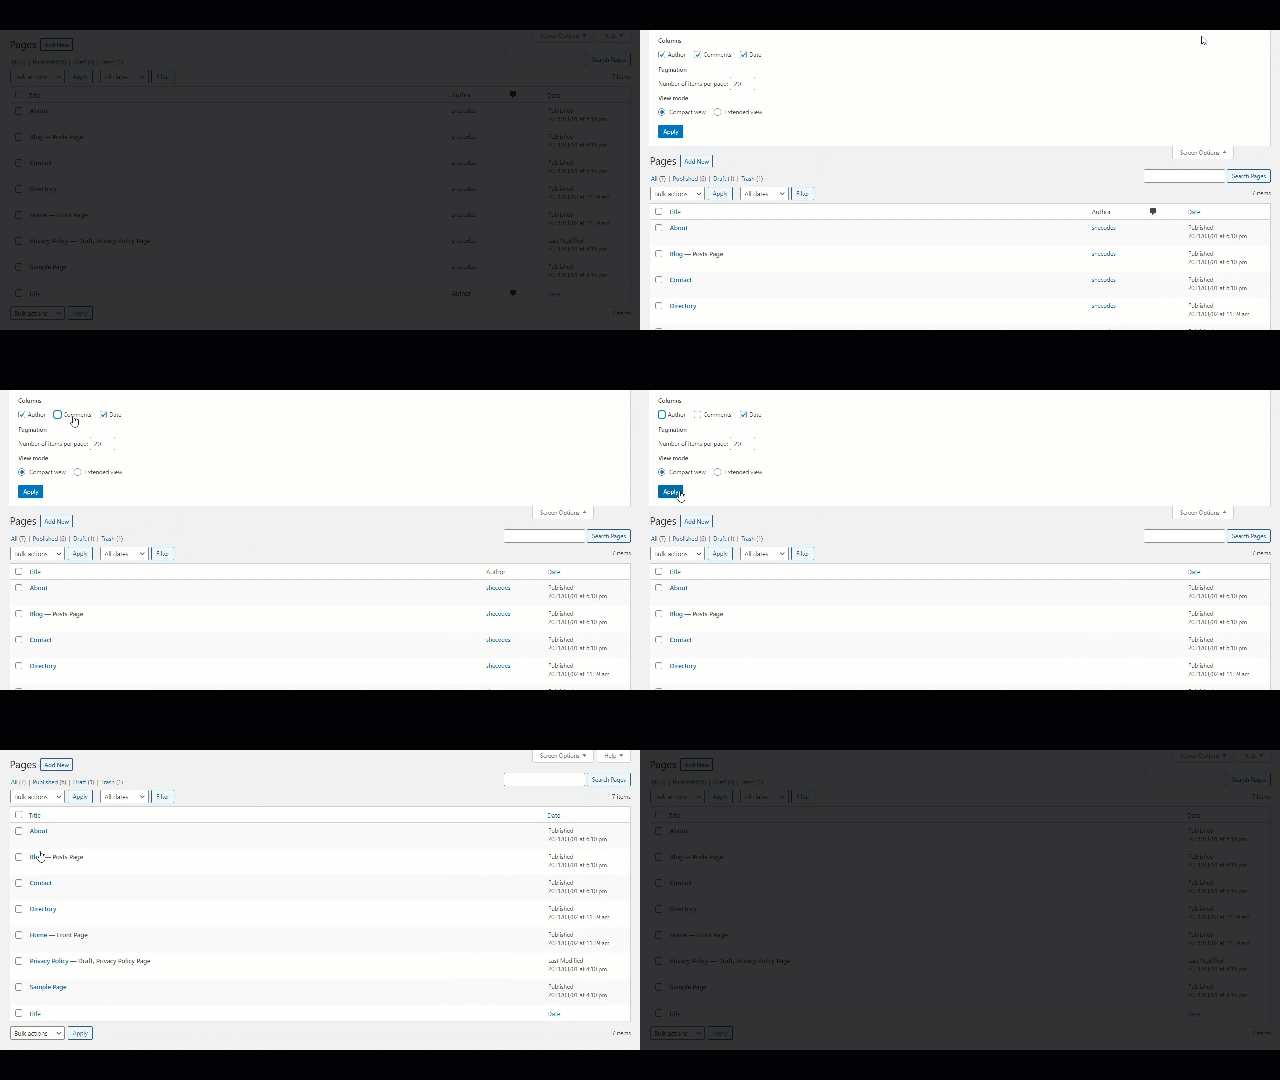
Screen Options
Before we start editing pages, it’s worth familiarising yourself with the ‘Screen Options’ at the top of the page. This is a great way of changing what information displays on screens such as this, and can be customised for each user. This can be particularly handy if you have lots of posts or pages, or are working on a small screen (such as a laptop).

Editing Pages
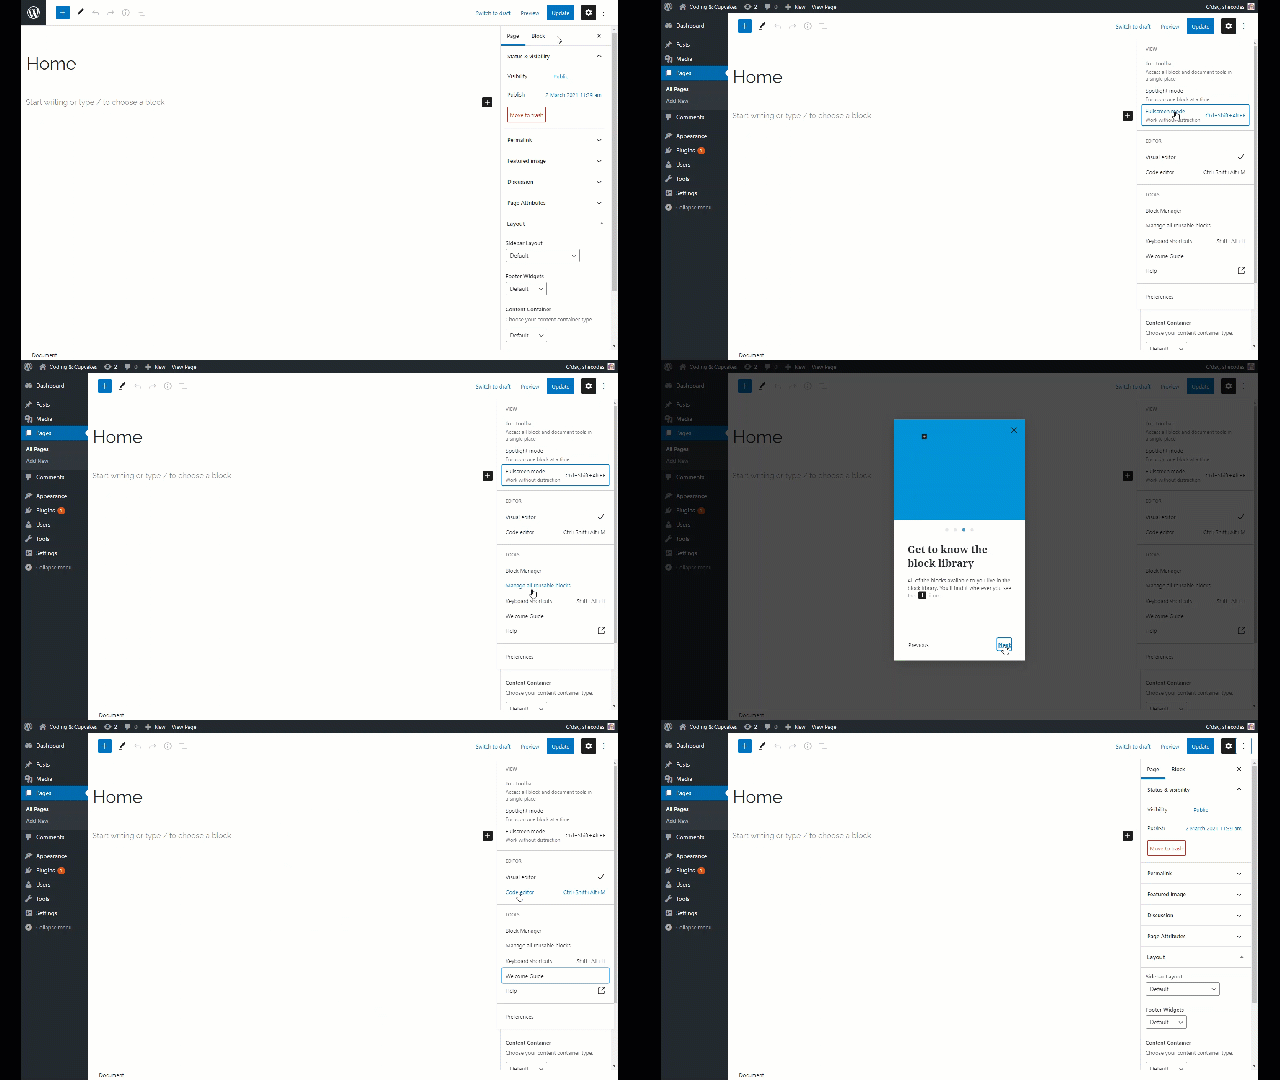
Click on the Home Page to open the editor. If you haven’t yet clicked on a page, you should see the introductory guide for the Block Editor. Click through the guide to learn some of the basics about how the Block Editor is used, and what it can do. If you accidentally closed the guide or would like to watch it again it can be accessed from the hidden menu in the top right. You can also use this menu to change your view from full screen (also called ‘distraction free’) mode so you can find your sidebar again!

The block editor is extremely powerful and we’ll explore what it can do a little later - however right now we’re just going to add some really simple content to our Home page.
Under the title at the top of the page, let’s add our first block. This can be done in one of three ways:
- Click the blue
+icon in the top left - Hover on the blank space below the title, and click the dark grey
+icon - Click under the title (where it says ‘Start writing…') and type
/
Now you should see a bunch of suggestions for blocks.
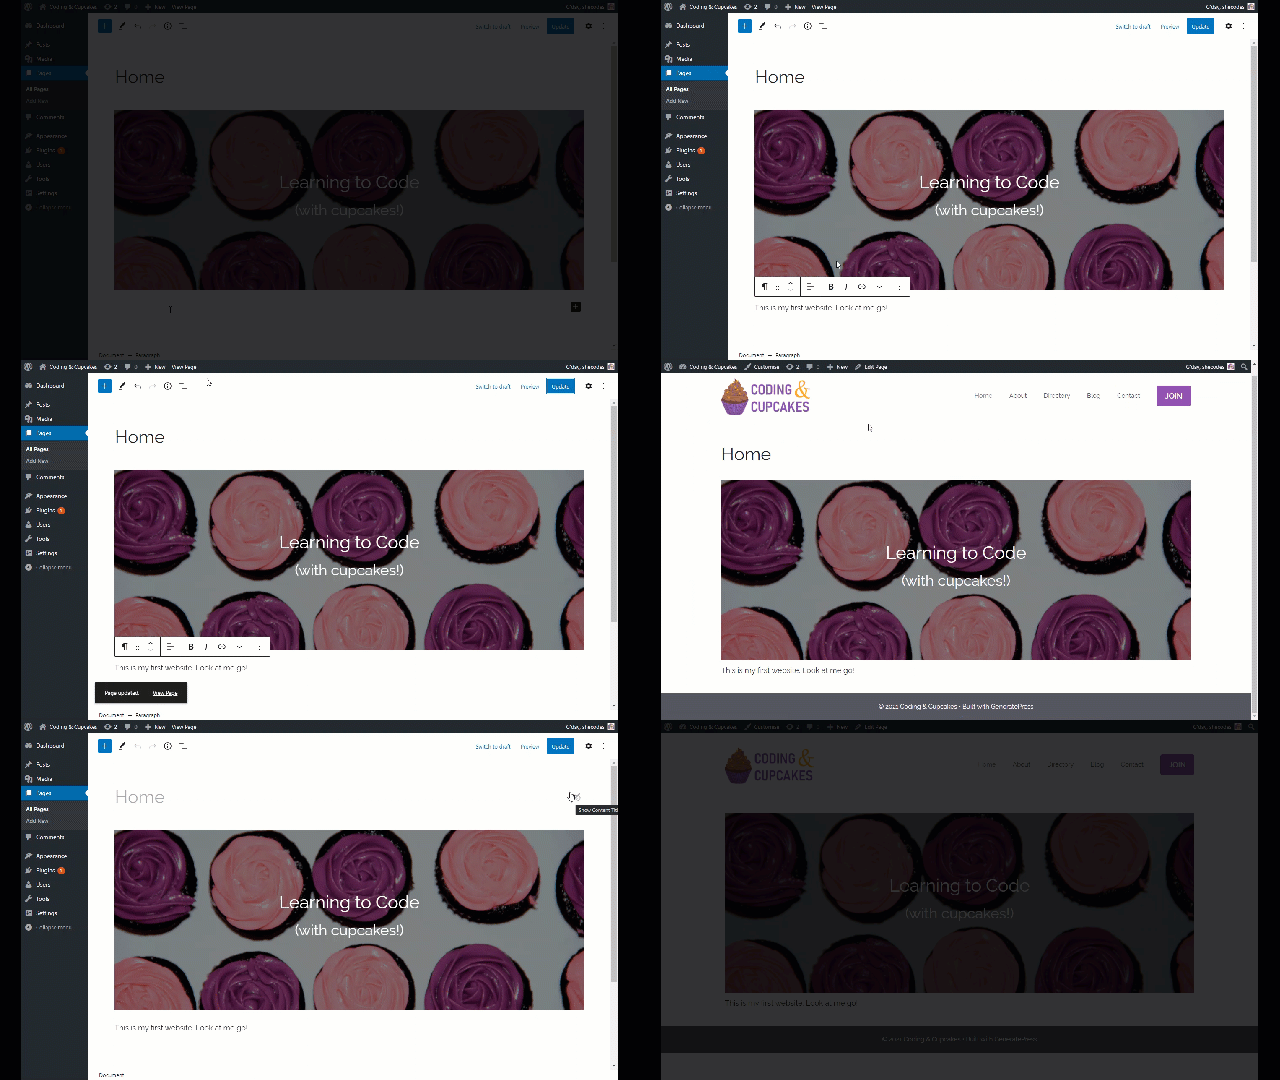
- Type the word ‘cover’ and choose the Cover block
- Choose a color and/or upload a photo to use as a background
- Add a heading on top of the picture (just click to add)
Adding blocks is that simple!
Here are some of the blocks you will likely use a lot:
- Heading
- Image
- Media & Text
- List
Note that ‘text’ or ‘paragraph’ aren’t shown in the commonly used blocks - that’s because the paragraph block is the default that is added whenever you hit enter or add a new block using the plus icon.
You can search for blocks using keywords - try typing /photo and see what happens!
Once you’ve added your cover block (or anything else you like) you can hit ‘Update’ in the top right. This will save your work and prompt you to view it. Click the ‘View Page’ link in the toolbar or the prompt at the bottom of the page to see what it looks like - and when you’re done you can hit ‘Edit Page’ in the toolbar to return back to the editor.
If you would like to hide the Page Title (e.g. ‘Home’) hover over the title and click the eye icon on the right.
